Showing posts with label nail art polish. Show all posts

Monday, 3 September 2012

My (rather late) Birthday post!

Hi, it was my birthday in July and I just thought I'd show you some of the gifts I received.


Emery Board, Nail Clippers, Tweezers, Barry M Lip Gloss (from Impulse gift set)


Technic Nail Art trio (purple, white, gold)

Technic Nail Art trio (silver, pink, black)


Sinful Colors: Paris 856| Cha Cha Red 32| Hot Spot 943| Daddy's Girl 841| See You Soon 931| Aqua 104


beauty uk Glitter Brown| Astor Fash'n Studio Black| Barry M Nail Paint 122 (from Impulse gift set)

Aaaand finally, Technic Carnival x2

Oi! Oi! That's yer lot!
DISCLAIMER: All products featured in today's post were gifted to me by my lovely mother for my birthday. 

Thursday, 2 August 2012

UK nail polish Facebook Group

Hi, I would like to introduce you to a new nail polish group I made on Facebook. It's called:

UK Nail Polish Freaks & Frankeners Unite!

Please come along and join us. You can share blog links, nail art photos or just have a general chit chat. As we get more members we will also be holding contests and giveaways. Another thing I would like to add is that there is a huge gap in the UK market as far as frankening is concerned. (we basically can't get hold of any of the supplies here!) I hope that in the future this will change and supplier details will be shared on the group. We have a few documents which can be edited to add UK friendly shops, holographics, flakies, indies with more being added  regularly. If you know others that might be interested in this group, invite them to come along too. Everyone is welcome. Hope to see you on there soon!

Saturday, 10 March 2012

My Most Wanted: Nail Polish Wishlist!

Hey, hope you're all having a fabulous weekend so far!
Today, I am going to share my nail polish wishlist with you, its nowhere near complete but hey, we have to start somewhere, right?

I don't own any of these (yet!) so pictures are all borrowed from some lucky people who already have these in their lives!


These lovlies are Milani Jewel FX - I want them all!


Maybelline Mirror Image


Stargazer Chrome Silver


Essence Nail Art Twins

Essence Special Effect Topper


Nfu Oh 41 - 60 (flakies)


Nfu Oh 61 - 80 (holos)


Gosh Rainbow


Gosh 549 (Holographic)


Jessica Hologram Chic


Nabi Star Glitter. Nabi make loads of chunky and funky shaped glitter polishes so I really want the whole collection hehe but do you think I can find anywhere that sells them? Nope. 

That is all I can think of right now, I ordered another 24 polishes yesterday! (I know, I know,  I have a problem!)
If you know where I can find any of these or even something similar,  please, please get in touch and let me know where I can get them! I am in the UK ,by the way. Also, if you know of another polish that deserves a place on here, please let me know as I am always looking for new nail polish!!


Thursday, 16 February 2012

Adele Inspired Nails!

Well hello there! A couple of days ago I did a post on Adele's Grammy Awards style and those awesome nails she had. Well... now I have created my own version of them! I noticed a lot of people commenting on Adele's manicure elsewhere on the net, and they were saying how it must be so difficult to get the brush behind the nail to paint it.

The answer is simple. You don't have to! Well if you have short natural nails anyway that is. If you use fake nails, you can paint the back of the nail before you glue it on.
I used short, European, full coverage nails in a natural finish. Here is the finished look:


Please excuse the ill-fitting nails, and the fact that you can see my natural nails at the back. I glued them on with PVA glue just to take the photo then peeled them straight off. If I was actually going to wear these nails for longer than 5 mins, I would trim my natural nails back, file the false nails to a better shape and use proper nail glue!


This was quite simple to make.

  1.  I used Catherine Arley Holographic Nail Polish in shade 667, I used 2 coats.
  2. Then, I painted the back of the nail from the tip to just under halfway down in MUA shade 15 (the one from my secret valentine) I would advise using some of those white guide stickers if you have some. I couldn't find mine as you can see by the messy painting but you get the idea.  
  3. Then, I added some holographic glitter from my nail art pen haul  to the front of the nail where the pink was showing through. 
  4. Finally, I added some MUA clear polish (shade 17) on top of the glitter to make it extra sparkly. I didn't apply this to the whole nail as holographic polish is best left as it is. 

In this case, I wanted the pink to show through slightly at the front but if you didn't want this to happen, you would either use a completely opaque colour or paint the front of the nail white as a base. If you do acrylic or gel nails, you could just use coloured tips and then completely paint the front of the nail for the same effect.

. It is very difficult to photograph holo polishes / glitters so in real life this looks absolutely stunning and so sparkly, much better than in the photos. I hope you enjoyed this post, here is another photo to finish off with that really shows off the holographic polish as much as I could get it to:


When I come to actually wear these, I will probably do a follow-up.

DISCLAIMER: All products used here were bought by me :-) 

Sunday, 6 November 2011

Technic Crackle Polish & my neon rainbow crackle nails!

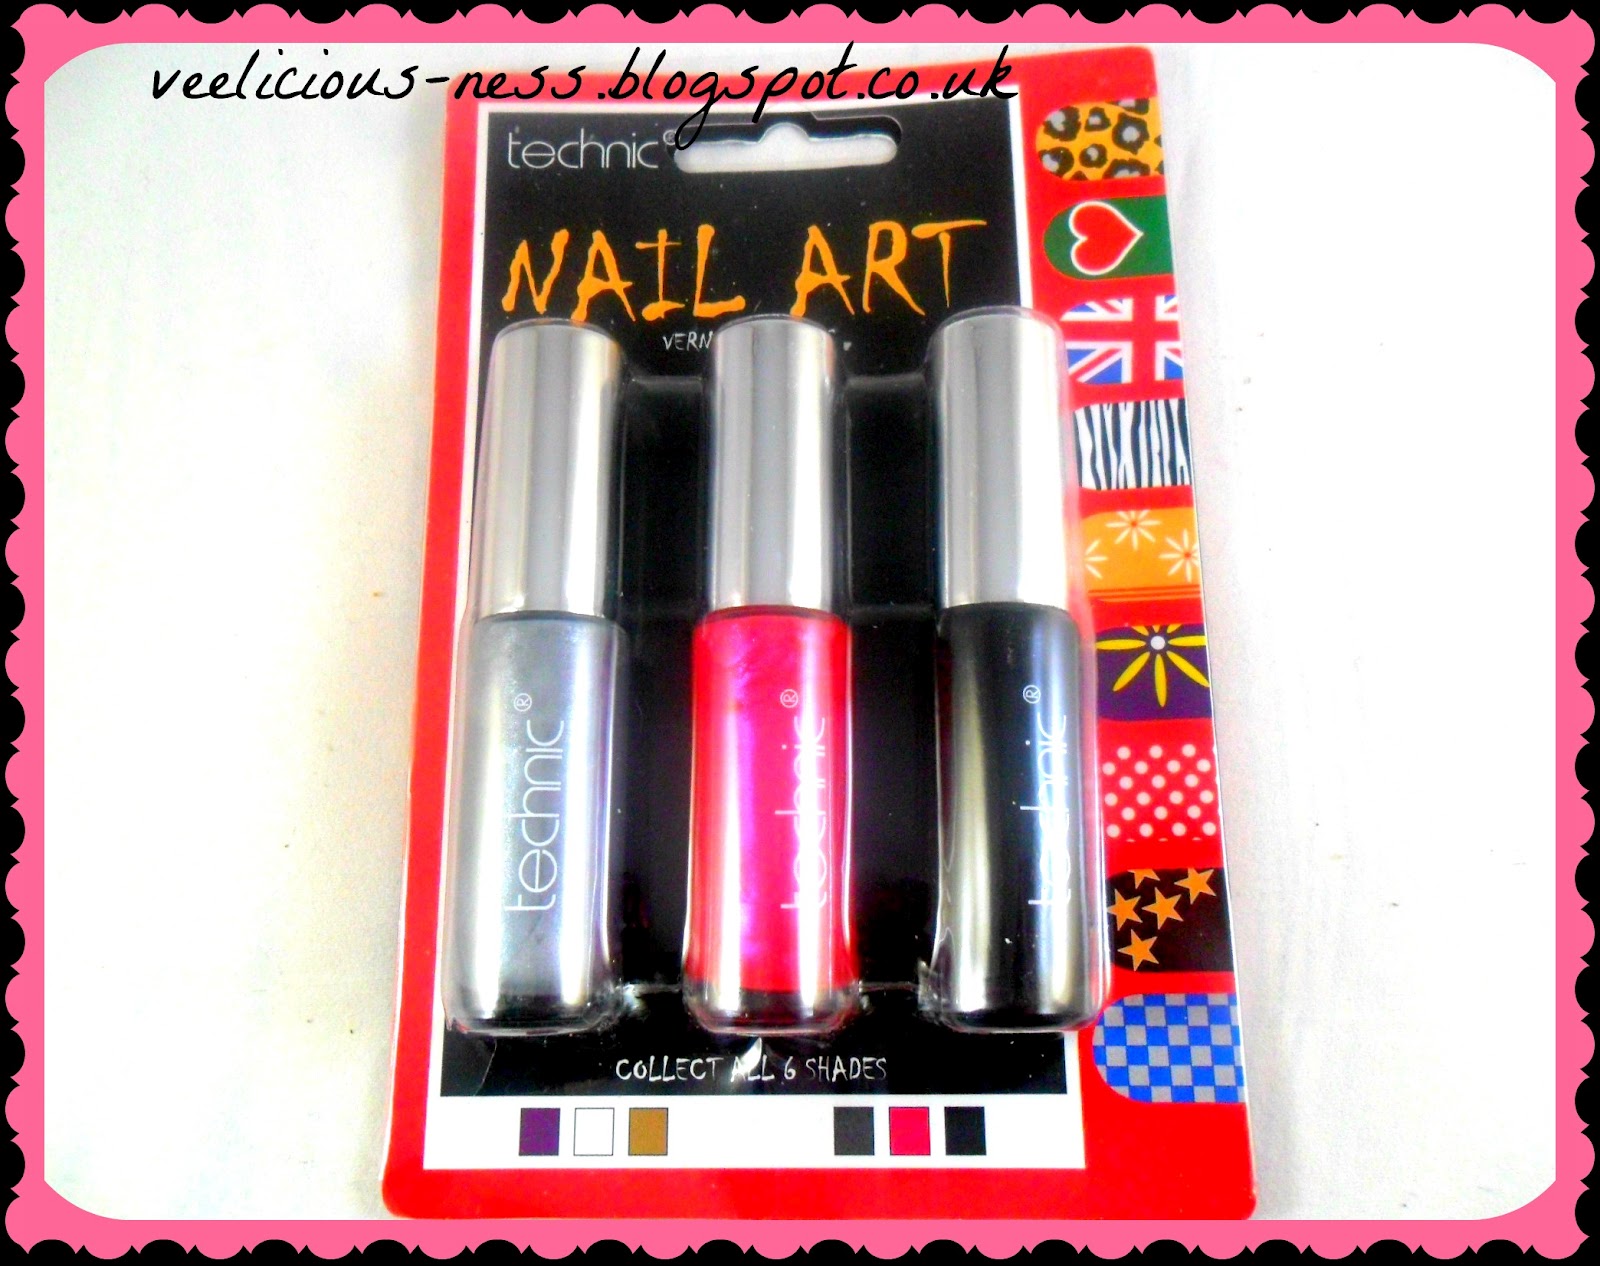
So, today I bought a bottle of Technic Crackle Effect Top Coat in 21106 Black. It only cost £1.99 and I have never used crackle polish before, so I thought I'd give it a go.

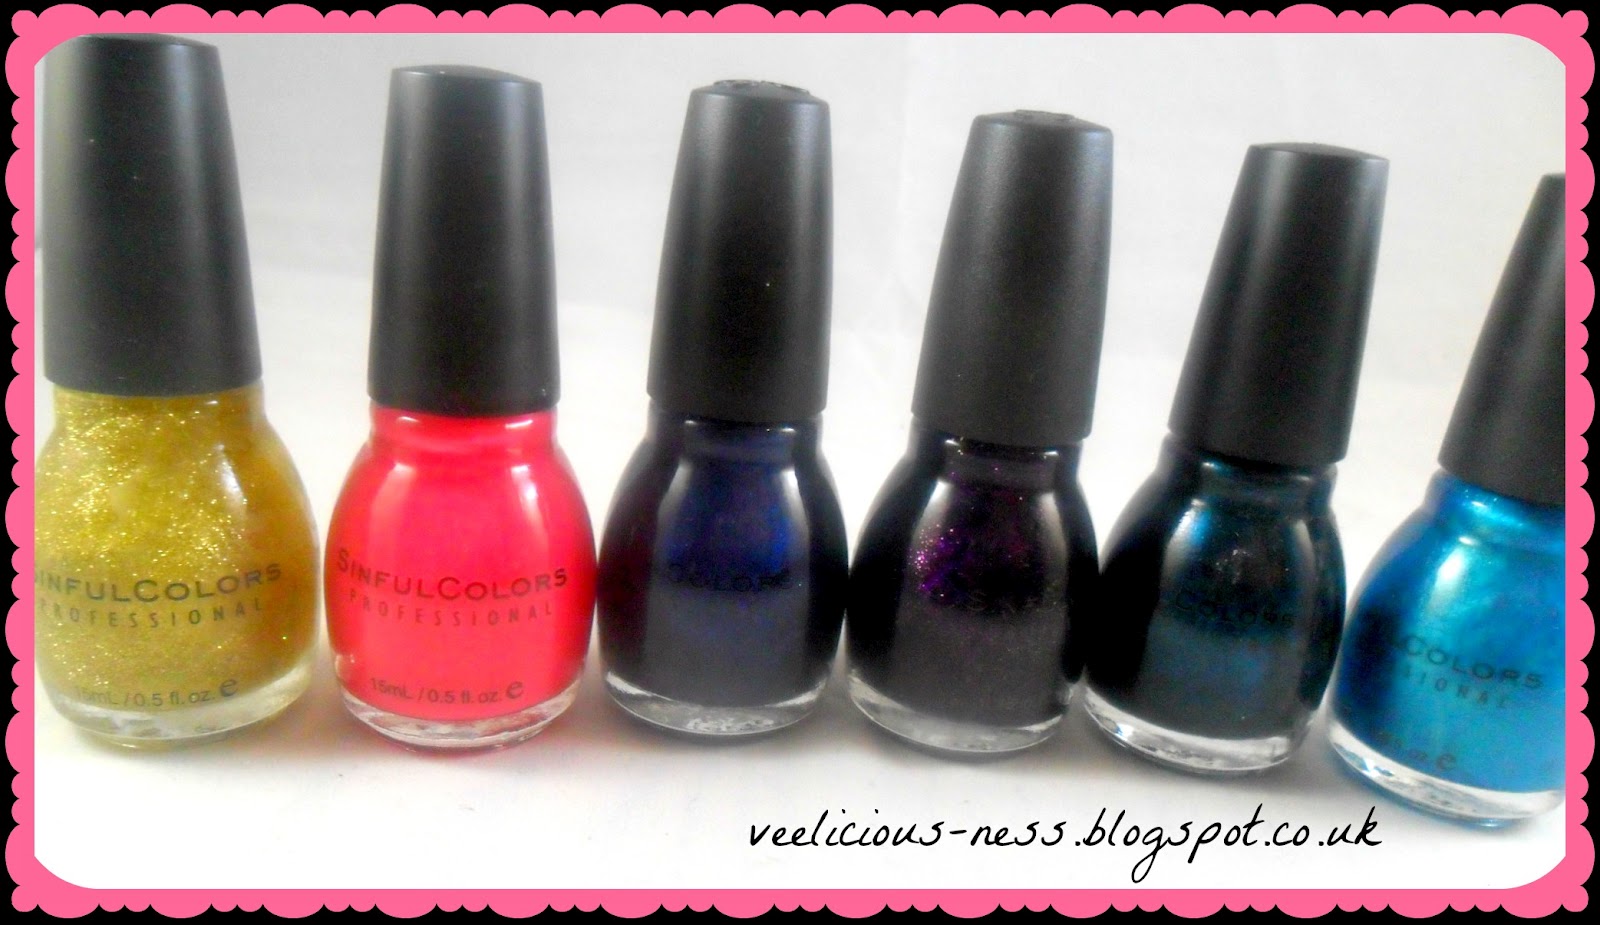
First of all, I painted my nails the colour I wanted to show through the crackle polish. I only did one coat so if you wanted a more vibrant finish you could do more or use a white undercoat first. In this case, I chose a different colour for each nail using these polishes from my collection:

Once that had dried, it was time for the star of the show to make an appearance.


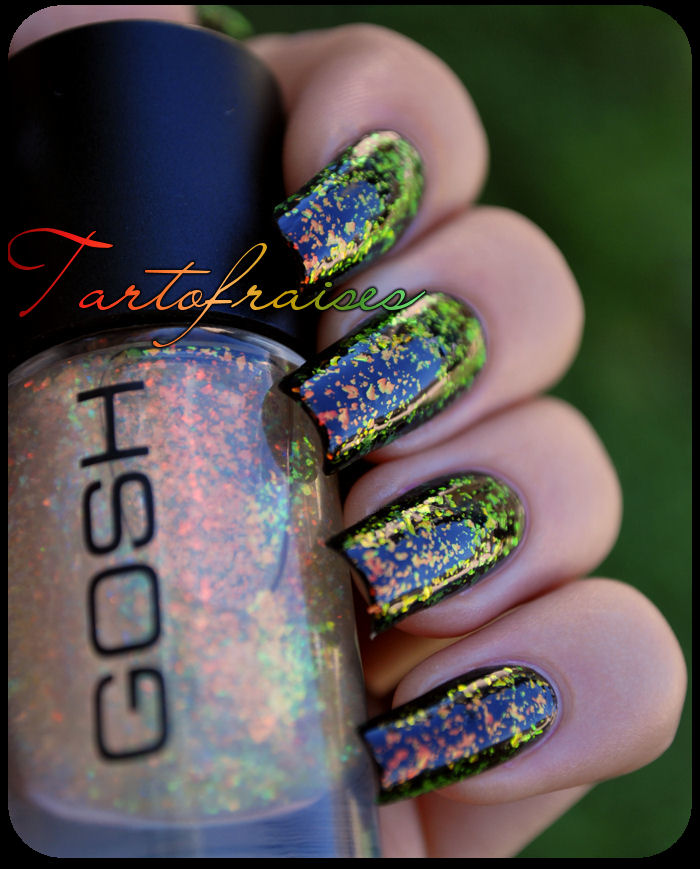
I applied one coat of Technic Crackle Polish onto my freshly painted nails, being careful to paint each area just once, no overlapping or this will ruin the effect! Then, the magic happened before my eyes as the black started to crack in a random pattern and reveal the colours underneath.
Once this had dried I noticed the black was looking a bit dull, and almost chalky but once I applied a thin layer or two of clear top coat (which you need to do anyway to keep the colour on your nails), it had a nice shiny wet look to it once again. This is what it looked like:


It was so quick and easy to apply and I am not skilled at all when it comes to nail art, plus my nails are really short so it proves that you can still have pretty nails whether they are long or short.

The only really tiny issue I can find is not in the product itself but in the instructions that come attached to the bottle. It doesn't mention that you should apply a top coat to finish your design. someone who didn't know you had to do this would be a bit disappointed and not understand why the colour did not look its best. any tutorial online (and there are loads!) will tell you that you need to do this.

I absolutely love this product, I think it does it's job as well as more expensive products out there and I will DEFINITELY be buying more of these in as many colours as I can find!

Hope you enjoyed reading!

DISCLAIMER: All products used here were bought by myself. Woohoo!

Sunday, 30 October 2011

Goodies I bought today!

Today I went shopping (with a budget of £20) and this is what I came back with:

15 piece silicone baking set
I actually bought 2 of these! One for cooking with (I think a butterfly cake will look awesome) and one for crafting. I'm either gonna try it with resin casting or soap making so I'll give an update sometime in the near future so you can see what I end up making!

Thomas Fleece Blanket
I couldn't go shopping without getting something for my little one so I got him a new blanket. His name also happens to be Thomas so it literally has his name all over it.
50 Bobbles
I was desperately in need of some new bobbles so I picked up these funky looking ones. I love the rainbow colours!
3 x Nail Art Laquers 
I did get some of these a while back in pink shades and so I went back and got these. I love how the brushes allow you to do nail art designs or a full plain colour without needing to swap brushes. They are good but you need to use a good top coat with them. These ones are by Angel Cosmetics so they are nothing too fancy but they do the job!

Centipede Sparkly Bag Charm
This caught my eye because of how sparkly it is and I'd never seen a centipede bag charm before. Its nice to have something a bit "different" for a change.

Long Ribbon Bag Charm
Next up was this bag charm. It's my favourite purchase of the day. Its really long too and it spruces up my boring plain looking bag rather nicely.

Last but not least, I bought a long black open cardigan. I didn't get a photo of this as you all know what they look like I buy these quite often in lots of different styles and colours and I wear them nearly every day.

So thats it, and it cost me £19 in all!